I bought back black and white pictures to life with AI.
I bought back black and white pictures to life with AI.
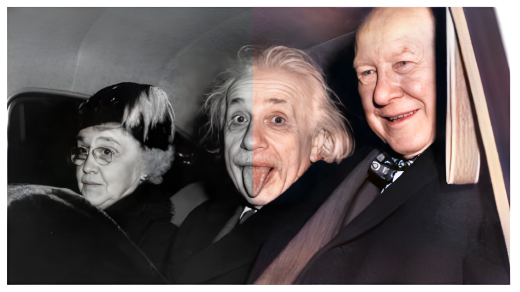
So, I have this photo of my great grand mother. Its very old and in black and white. I wanted to see it in colour so I decided to write this article and make an AI that can change Black and White images to colour images.
So, I started with some reasearch. I found many models for this purpose but one that stood out in particular was deoldify. It was an amazing AI model made by a guy named jantic. I decided to use this model.
Now lets start with the code. First the installs:
Then lets get started with the setup:
Lets Install the colab requirements as we are on google colab:
Lets make the imports:
Lets get model:
Lets get the watermark:
Lets setup the image colouriser:
Now let me add some instructions:
source_url: Type in a url to a direct link of an image. Usually that means they’ll end in .png, .jpg, etc. NOTE: If you want to use your own image, upload it first to a site like Imgur.
render_factor: The default value of 35 has been carefully chosen and should work -ok- for most scenarios (but probably won’t be the -best-). This determines resolution at which the color portion of the image is rendered. Lower resolution will render faster, and colors also tend to look more vibrant. Older and lower quality images in particular will generally benefit by lowering the render factor. Higher render factors are often better for higher quality images, but the colors may get slightly washed out.
watermarked: Selected by default, this places a watermark icon of a palette at the bottom left corner of the image. This is intended to be a standard way to convey to others viewing the image that it is colorized by AI. We want to help promote this as a standard, especially as the technology continues to improve and the distinction between real and fake becomes harder to discern. This palette watermark practice was initiated and lead by the company MyHeritage in the MyHeritage In Color feature (which uses a newer version of DeOldify than what you’re using here).
How to Download a Copy: Simply right click on the displayed image and click “Save image as…”! Pro Tips You can evaluate how well the image is rendered at each render_factor by using the code at the bottom (that cell under “See how well render_factor values perform on a frame here”).
Now lets get the above inputs and render the coloured images:
And with that the code is done. Let's see some amazing outputs:
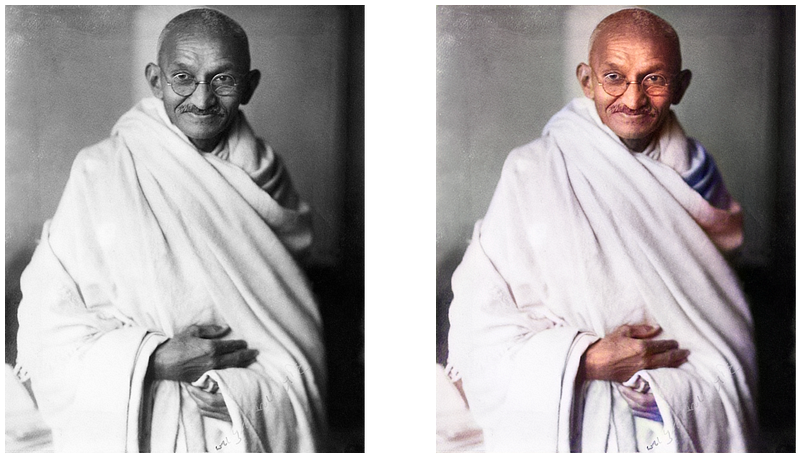
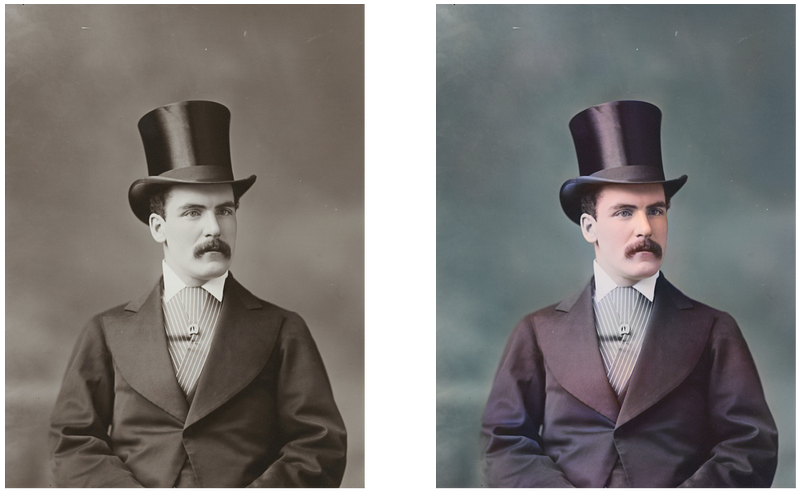

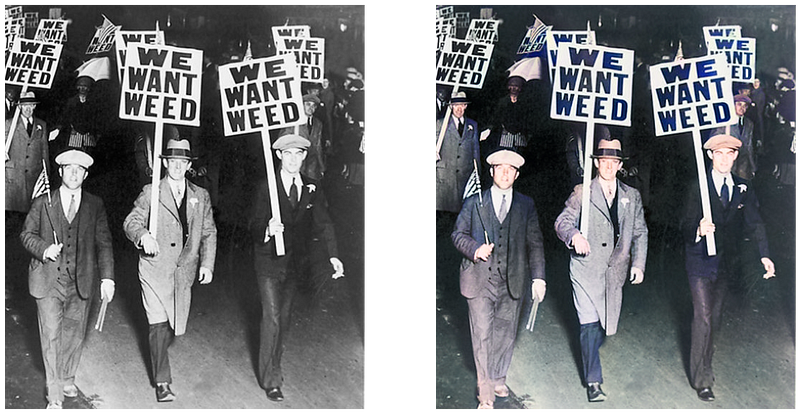
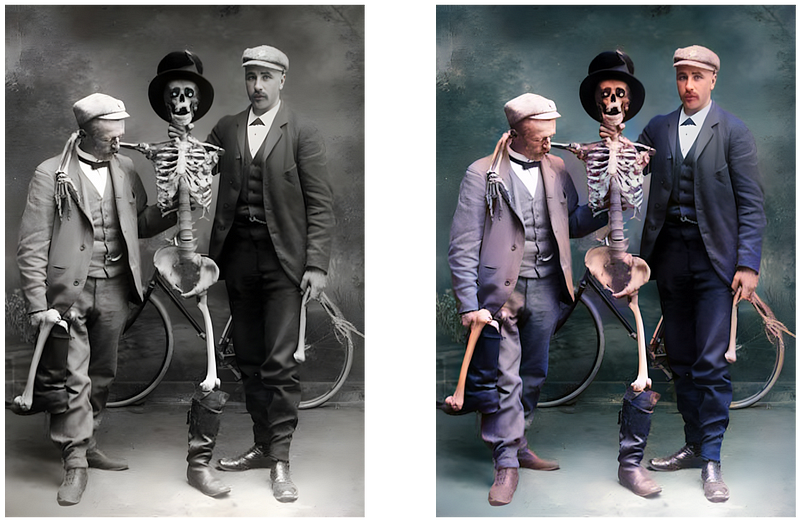
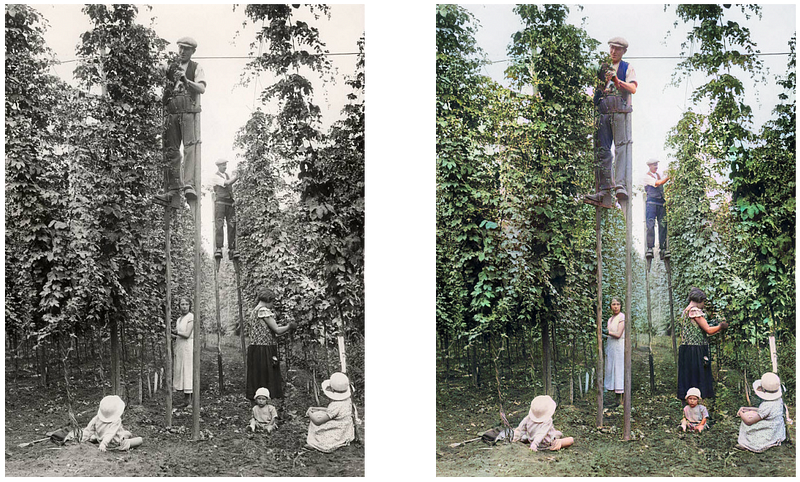
Look at these amazing transformations ahhhh I love AI
If you liked this article please follow me on medium.
for the colab notebook go here:
For more stuff check out my github:
You can't perform that action at this time. You signed in with another tab or window. You signed out in another tab or…github.com
For my day to day AIML research updates follow me on twitter:
Thanks for reading 😁, See ya guys next week 👋🏼